Camera layout: where to place cameras for real coverage
Want a camera layout that actually catches what matters? Good placement beats expensive gear. This short guide gives clear, practical steps you can use for a house, shop or small office. No fluff—just tips you can apply right away.
Plan your coverage first
Start with a quick walkaround. Note entry points (front door, back door, garage), high-value zones (safe, till, server rack), and blind spots (dark corners, alleyways). Draw a simple floor plan on paper or use your phone camera to take photos. Decide which areas need wide overview and which need detail shots.
Use two camera types: wide-angle for general coverage and narrow/tele for long driveways or license plates. Example: a 2.8mm lens gives roughly 90–110° field of view—great for porches and living rooms. A 12mm lens narrows view to about 30° and is useful for long-range details.
Place cameras so each camera overlaps the next by 10–20%. That overlap prevents gaps when someone moves between zones and helps with tracking.
Mounting height, angle and lighting
Mount outdoor cameras at 3–4 meters high to reduce tampering but keep angles low enough to capture faces. For indoor cameras, 2.5–3 meters works well. Aim for a 30–45° downward tilt—this captures faces without too much sky or ceiling in the frame.
Pay attention to light. Avoid pointing cameras directly at bright lights or windows. For mixed lighting scenes, choose cameras with WDR (wide dynamic range). For night coverage, ensure IR range covers the distance you need and avoid reflective glass, which can bounce IR back and wash out the image.
Think about recognition vs. identification. For recognizing a face (who it is), get the camera closer or use a higher focal length and place it at face height when possible. For general security (seeing movement), a higher, wider angle is fine.
Wiring & storage tips
Prefer PoE (Power over Ethernet) if you can. One cable for power and data keeps installs tidy and makes backups simpler. Run cables away from power lines to reduce interference and use weatherproof conduits outdoors.
Storage planning: calculate using this simple formula—bitrate (Mbps) × 0.125 = MB/s. Multiply MB/s by 86,400 (seconds/day) to get MB/day, then convert to GB. Set retention based on needs: 7–30 days is common for homes and small businesses. Check camera bitrate and recording frame rate—lowering fps or using motion recording saves space.
Privacy, legal and practical checks
Don't point cameras at neighbors' windows or public toilets. Add visible signs to notify people if required by local law. Test your layout at different times (day/night) and review footage to verify angles and coverage. Tweak positions instead of buying more cameras.
Ready to sketch your layout? Start with entries, overlap coverage, pick lens types for distance, use PoE where possible, and verify lighting. Little changes in placement often fix big blind spots.

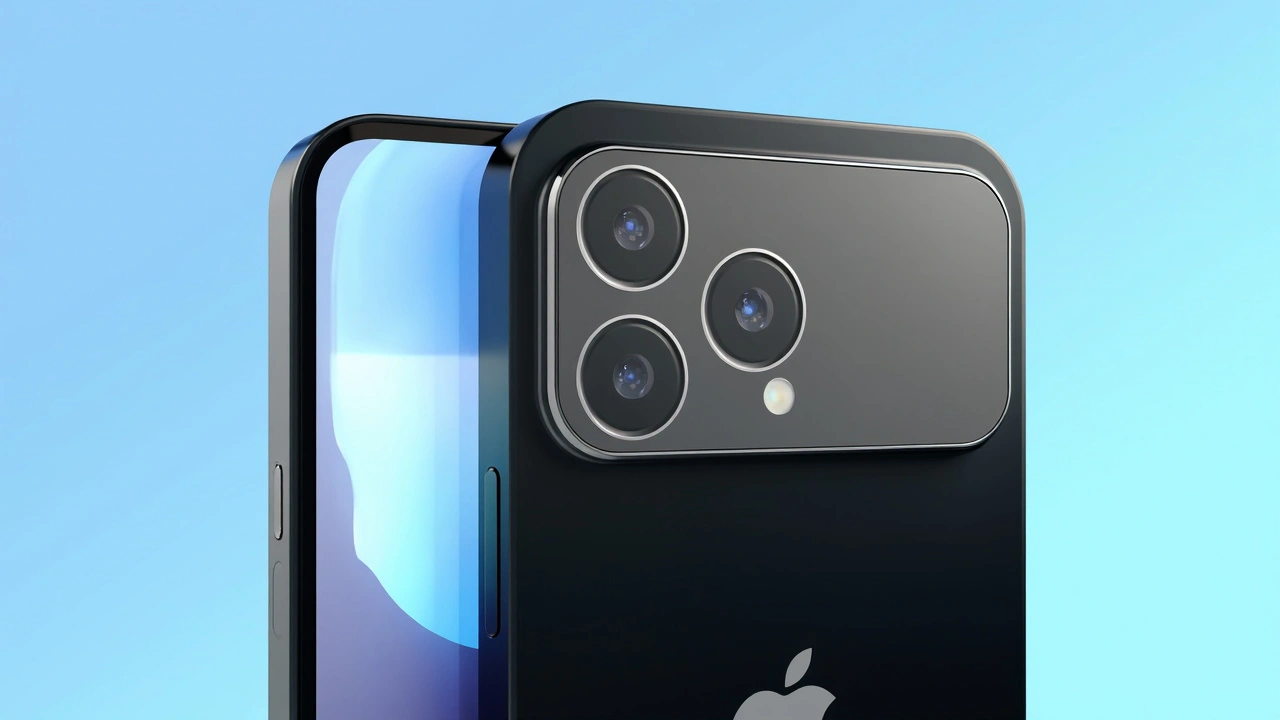
iPhone 17 Pro Keeps Signature Camera Design, Debunks Horizontal Bump Rumors
The iPhone 17 Pro will continue with its classic camera design, rejecting the rumored horizontal camera bump. It will feature a part-aluminum, part-glass rear for improved durability and a slightly thicker build for better battery life. With an A19 Pro chip and 12GB RAM, it promises enhanced performance, aligning with Apple's focus on combining aesthetics and practicality.